Create a new SharePoint Online Site Collection in Office 365
A step-by-step guide to create a new SharePoint Online site collection.
Prerequisites
- Activated SharePoint online account.
Steps to follow
- Go to https://login.microsoftonline.com
- Use your onmicrosoft.com account to login to SharePoint Online Admin site.
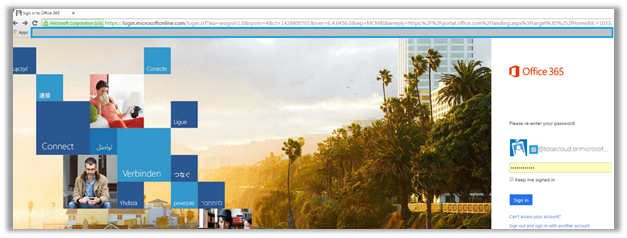
Figure 1 – Login Admin site
-
The login will take you to the Home page. Under Collaborate with Office Online section you will see different option boxes. Click Admin.
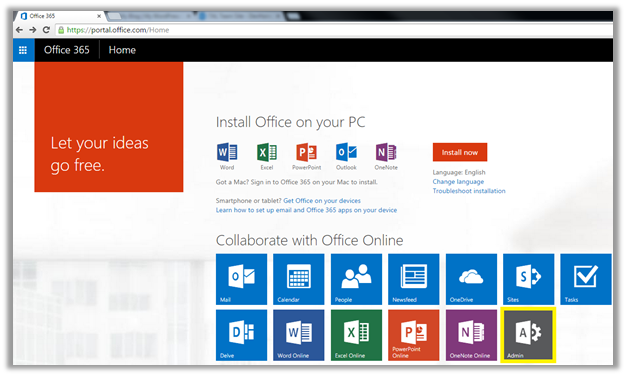
Figure 2 – Office 365 Home screen
- At office 365 admin centre page, on left menu you will find SharePoint at the bottom under Admin menu. This will open a new window of SharePoint Admin Center
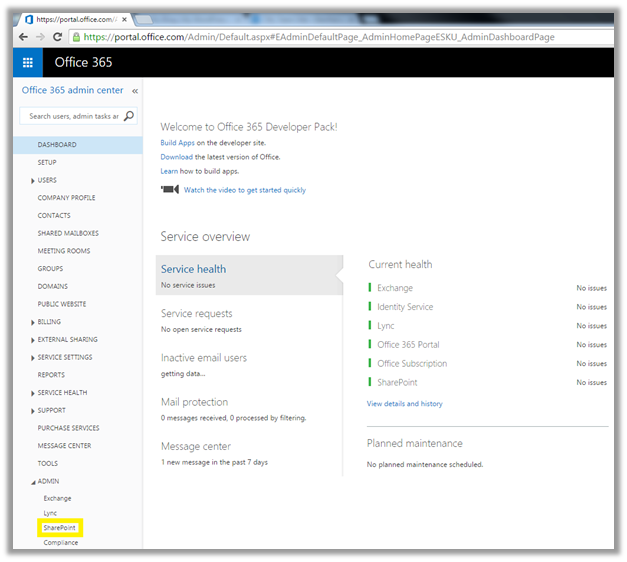
Figure 3 – Office 365 Admin Center
- To create a new site collection, click on New under Site Collections menu. Choose Private site collection option.
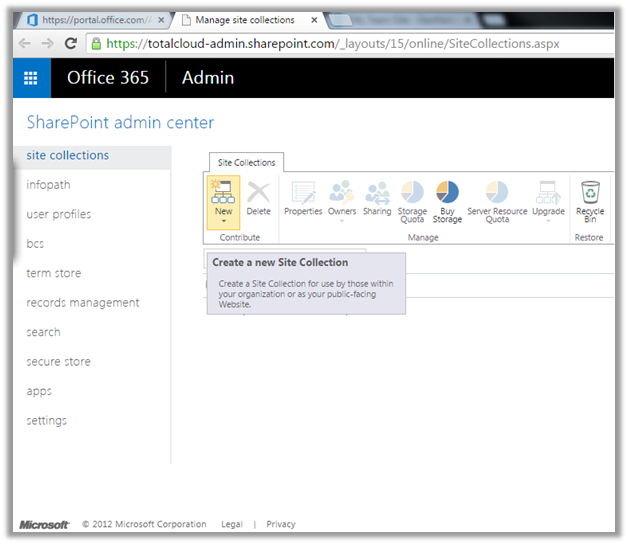
Figure 4 – Site Collection admin panel
-
On new site collection window, provide details for your new site collection.
- Title: Title of your new site collection
- Web site Address: choose web application under which you would like to host your new site.
- URL path: select the path and give the path name to your site
- Template select: here you can select the language and the type of template. There are different types of templates available, for now we will select Team Site.
- Time Zone: Select your preferred time zone. It will impact on your site’s date and time settings.
- Administrator: Choose the administrator of the site
- Storage Quota: Select the storage size for your size. It must be in megabytes and between 110 and 15896.
- Server Resource Quota: It limits the CPU and other resource usage by your site collection. You will have limited resources available, so choose it wisely.
We will leave it as it is for now. - Click OK to create a new site.
- Within few seconds your site will be ready and appear in site collections list.
Leave a Reply